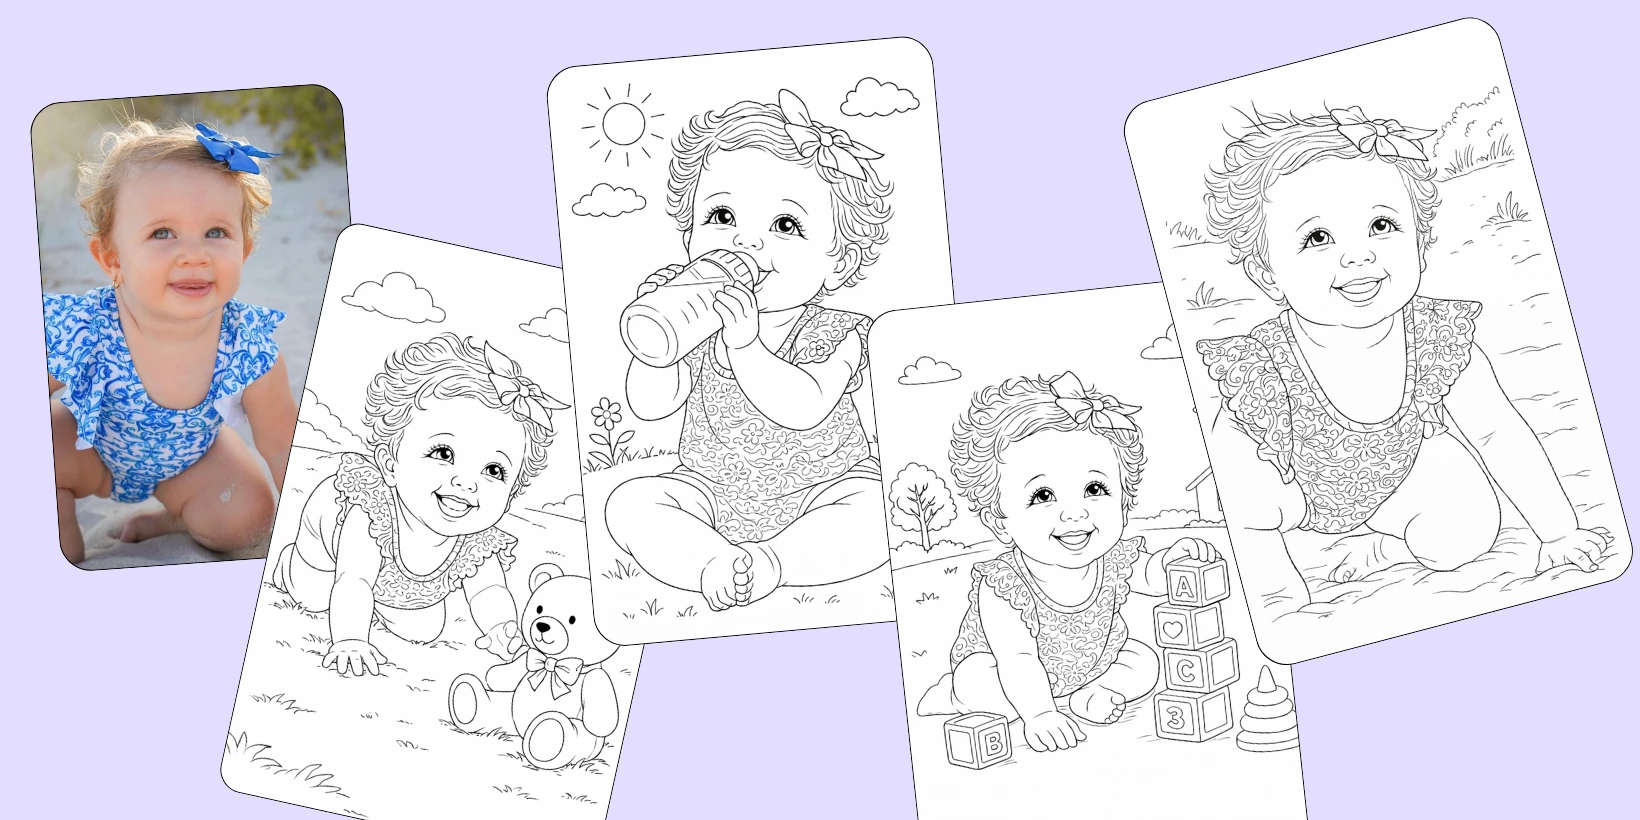
A personalized coloring book is one where every page is about the same subject: your baby, your dog, you. It is the difference between a nice gift and a gift someone keeps, because whoever colors it recognizes who is on the page.
The feature that makes it work is Character lock: you give it one reference image, and the same subject appears on every page in a different scene. The pages in this guide are a real book, "Baby Elena", made from a single photo.
What you need before you start
- A Colorin AI account with credits. A book spends one generation per page, so a 30 page book is 31 generations.
- One clear photo of your subject, filling the frame, in good light. What makes a good reference photo.
- A handful of scenes you want that subject in. The tool can help write these.
Step 1. Turn your photo into a reference page
You can upload a raw photo straight into the book, but there is a better way that gives you control over how the whole book looks. Do this first.
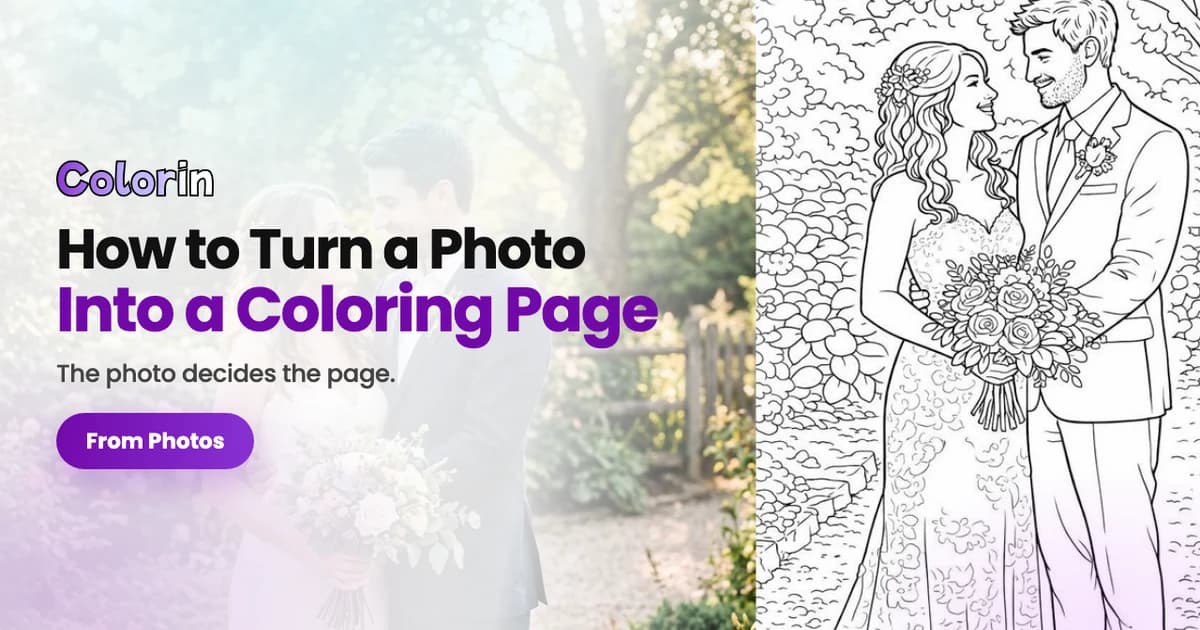
Open Photo to coloring page, upload your photo, and pick an Art Style. Convert it in a couple of different styles and see which line work you like best. The style you land on here is the style your whole book will follow, and which one suits which book is in the guide on art styles for coloring books.
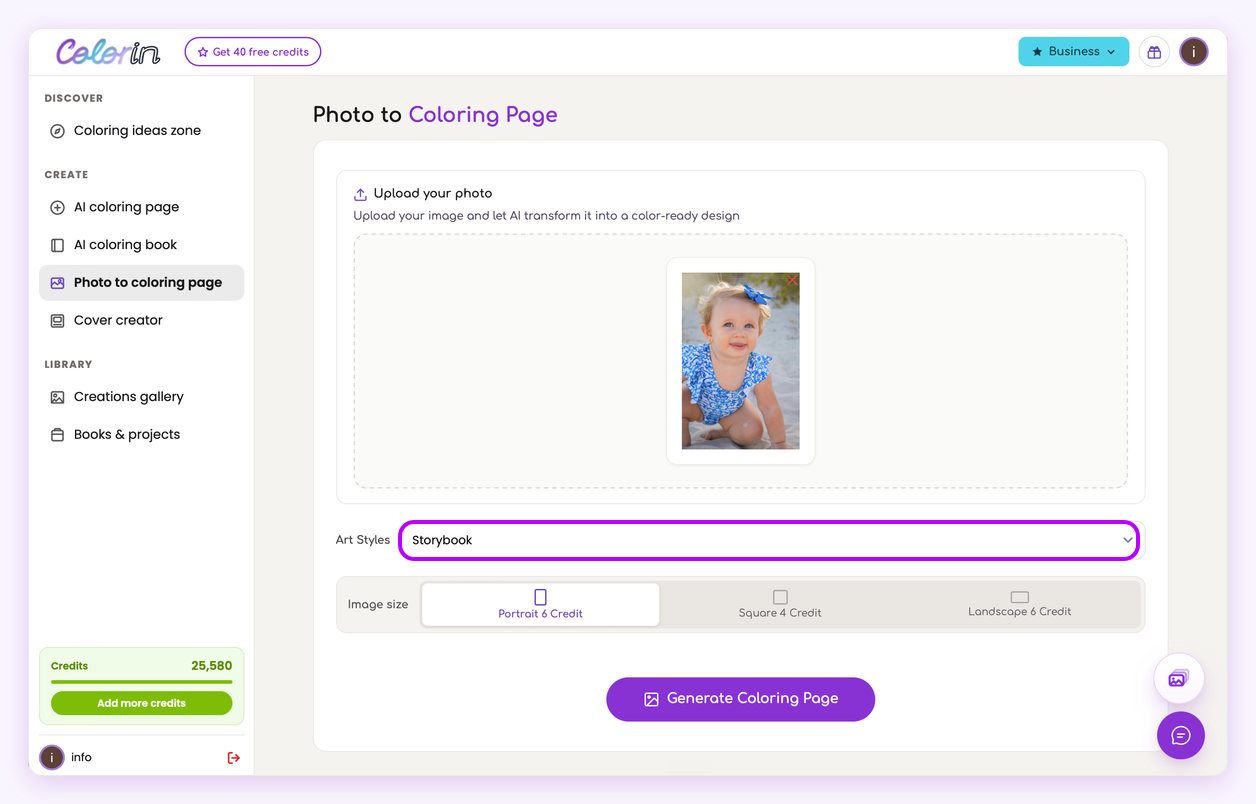
When one comes out the way you want, that page is your reference. It stays in your gallery, ready for the next step.
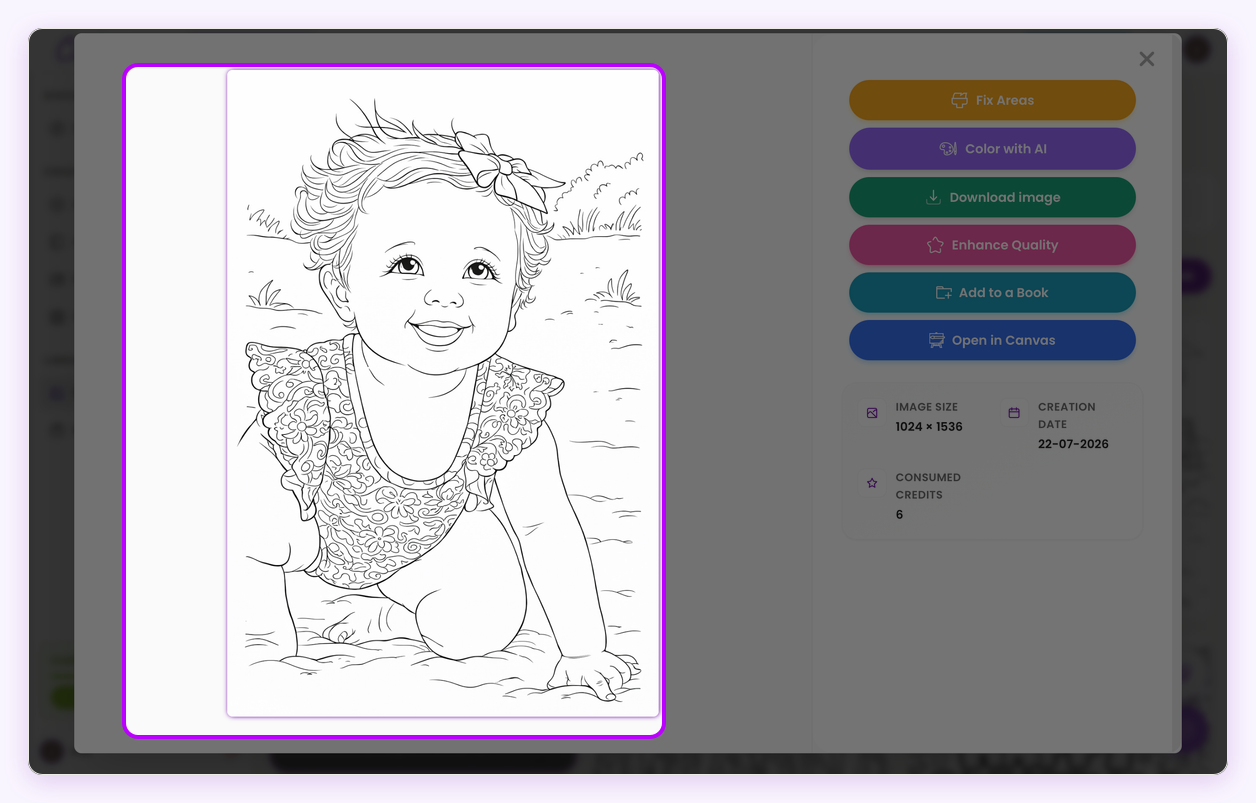
Convert your photo into a reference page first, and try two or three styles to see which one suits the book.
Step 2. Open the book generator and lock the character
In the left menu, open AI coloring book. On the Generate Coloring Pages tab, give the book a name, then turn on Character lock and upload the reference page you just made, not the original photo.
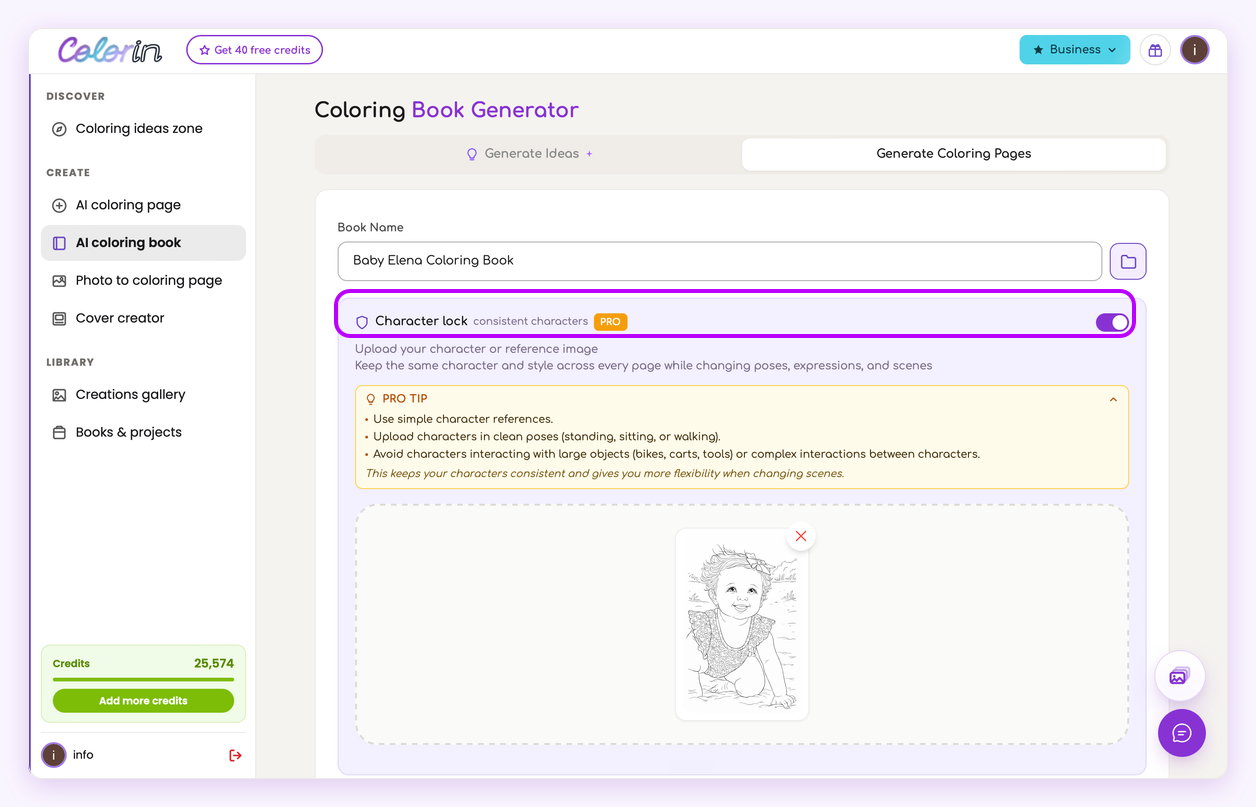
The app shows a short set of tips here, and they are worth following, because they are what keeps the character consistent from page to page:
- Use a simple reference. One clear subject, nothing busy around it.
- A clean pose works best: standing, sitting, or crawling.
- Give the subject the frame to itself, without bikes, carts or other characters sharing it. A clean reference gives the generator more freedom to place your subject into new scenes.
Character lock is a paid feature, marked PRO. It is the one this whole method depends on.
Step 3. Write the scenes, one per page
Now you list what your subject does across the book. Here is what makes the difference: you do not describe the subject again. Character lock already holds who it is, so each line is just the scene.
The Baby Elena book uses lines exactly this short:
- Drinking from a bottle, smiling.
- Crawling toward a teddy bear.
- Playing with stacking blocks.
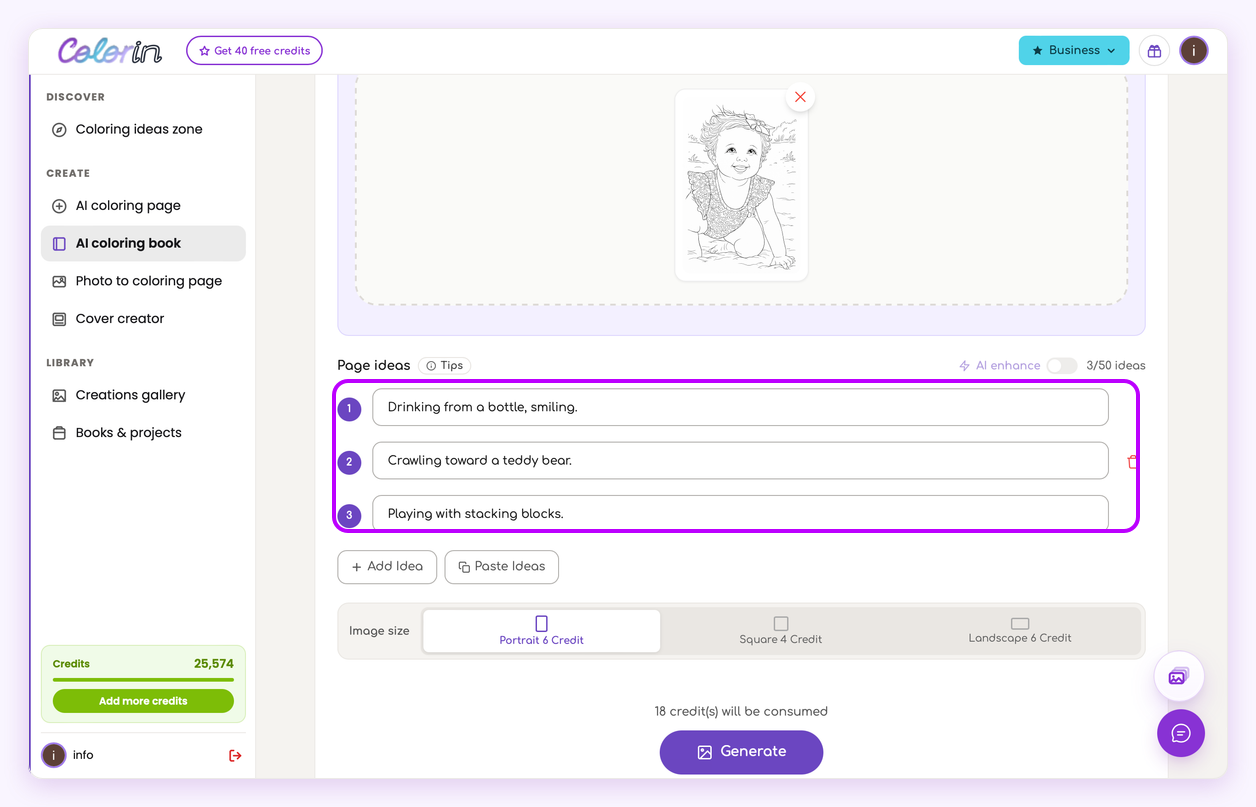
Write them yourself with Add Idea, one per row, or Paste Ideas to drop in a whole list at once. If you are short on ideas, the Generate Ideas tab turns one theme into a list of scenes for you. This is where the personal touch lands, so reach for moments that mean something to whoever gets the book.
How to write the scene lines
Here is what makes the difference, and it is worth being blunt about: every word you spend describing the subject again is a word competing with the reference you just uploaded. When the two disagree, even slightly, the page drifts. The hair sits differently, the face reads a little older, and by page twenty the character is a cousin of the one on page one.
So each line carries the scene and nothing else. What they are doing, where it happens, and one object they interact with. Not their age, not their hair, not their clothes, and not the art style, which the reference already fixed.
Three habits that make the list easier to write:
- Start from moments, not from scenes. A moment that actually happened makes a better page than one that sounds like a coloring book page.
- One action per line. If a line has an and in it, it is probably two pages.
- Write more lines than you need, then cut. Cutting is faster than inventing under pressure at line twenty-eight.
And read the list end to end before you generate. If two lines would produce a similar page, change one of them: two near-identical pages in a book of thirty are what you notice only once the book is printed.
Step 4. Generate the book
Pick your image size and press Generate. The pages are made on the server, page by page, so you can leave the tab and come back. Nothing is lost by walking away.
Step 5. Your finished book
Open Books & projects and there it is, every page featuring the same baby in a different scene: the blocks, the bottle, the teddy bear, all recognizably her.
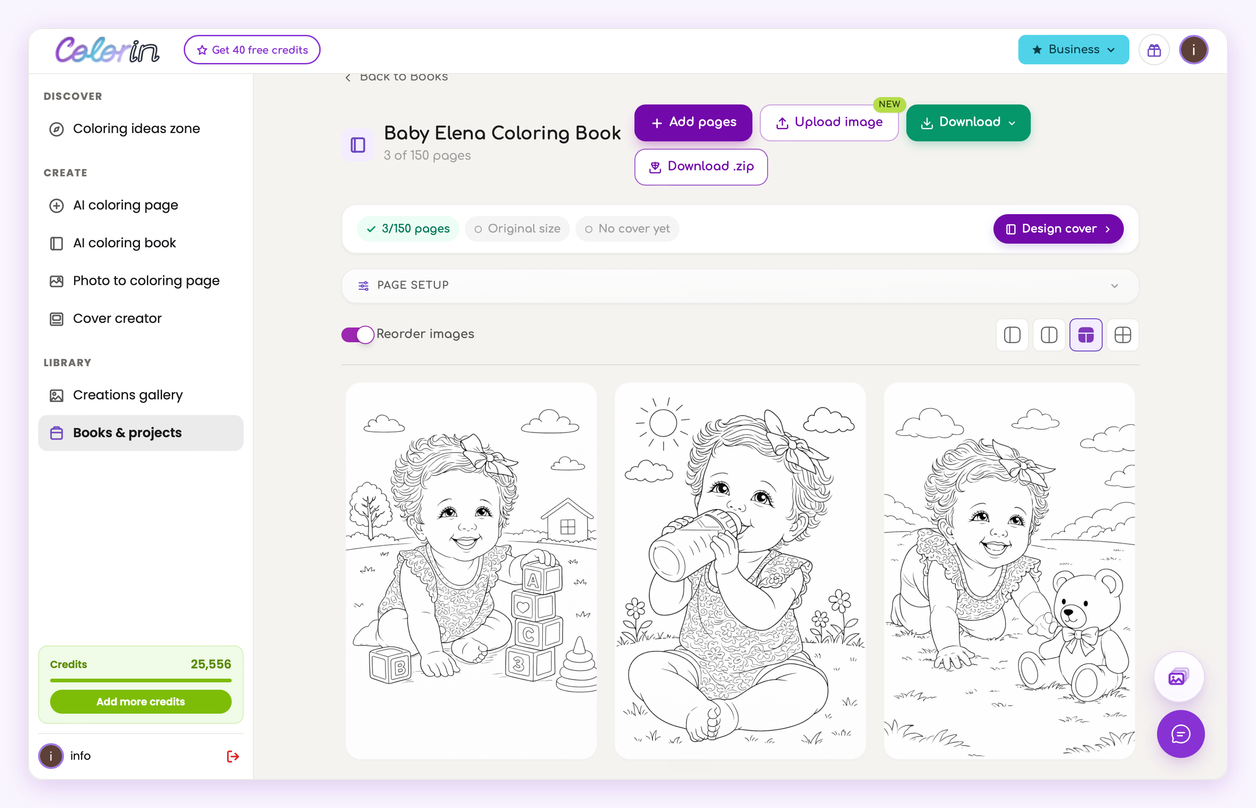
From here you can drag the pages into order, drop any that did not come out well, and add more whenever you like. The book is yours to keep building.
What comes next
Two steps finish the book off, and each has its own guide.
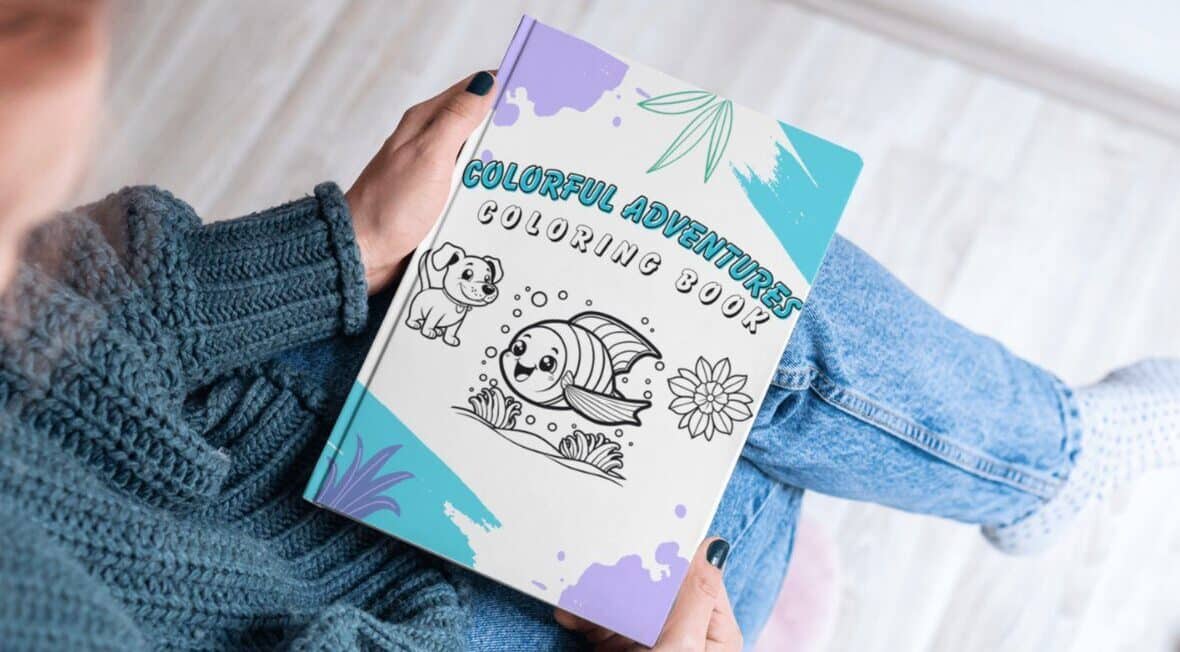
Add a cover. For a gift especially, a front with your subject on it turns a stack of pages into a real book. The cover creator builds a proper front, spine and back, sized to your page count.
Export it as a PDF. Choose the page size, and add blank pages between the drawings so each one keeps a sheet to itself. That PDF is what you print, wrap, or send.
Frequently asked questions
Do I upload the photo or the coloring page into Character lock?
Either works, but the coloring page gives a better result. Convert your photo first, pick the style you want, and upload that page. Because the reference is already in your chosen style, every page of the book follows it and comes out more consistent.
What do I write in the prompts?
Just the scene, not the subject. Character lock already holds who the character is, so a line like "crawling toward a teddy bear" is enough. Keep each one short and about one action.
How many photos do I need?
Just one. You turn that single photo into one reference page, and Character lock carries it across the whole book. One good photo is better than several weak ones.
Can I make a personalized book of a child or another person?
Yes, and books of your own children are one of the most popular uses. If the person is someone else, ask them first, and keep a book built from someone else's face for personal use unless you have their permission.
Why do my pages not look like the same subject?
Usually the reference was too busy. Follow the tips in Character lock: a simple, clear reference in a clean pose, with the subject not tangled up in large objects. A clean reference gives the generator more to hold on to across every page.
One photo is all it takes. Build your own book the same way, with the same subject on every page.
Colorin AI is an AI coloring page and coloring book generator built for creators who sell on Amazon KDP and Etsy, with generation from a written prompt or from a photo, character lock for consistency across pages, and print-ready export sized for KDP.